Pixel Map
Drop a venue pixel map, get a finished Resolume Advanced Output preset in seconds.
Drop a venue pixel map, get a finished Resolume Advanced Output preset in seconds.
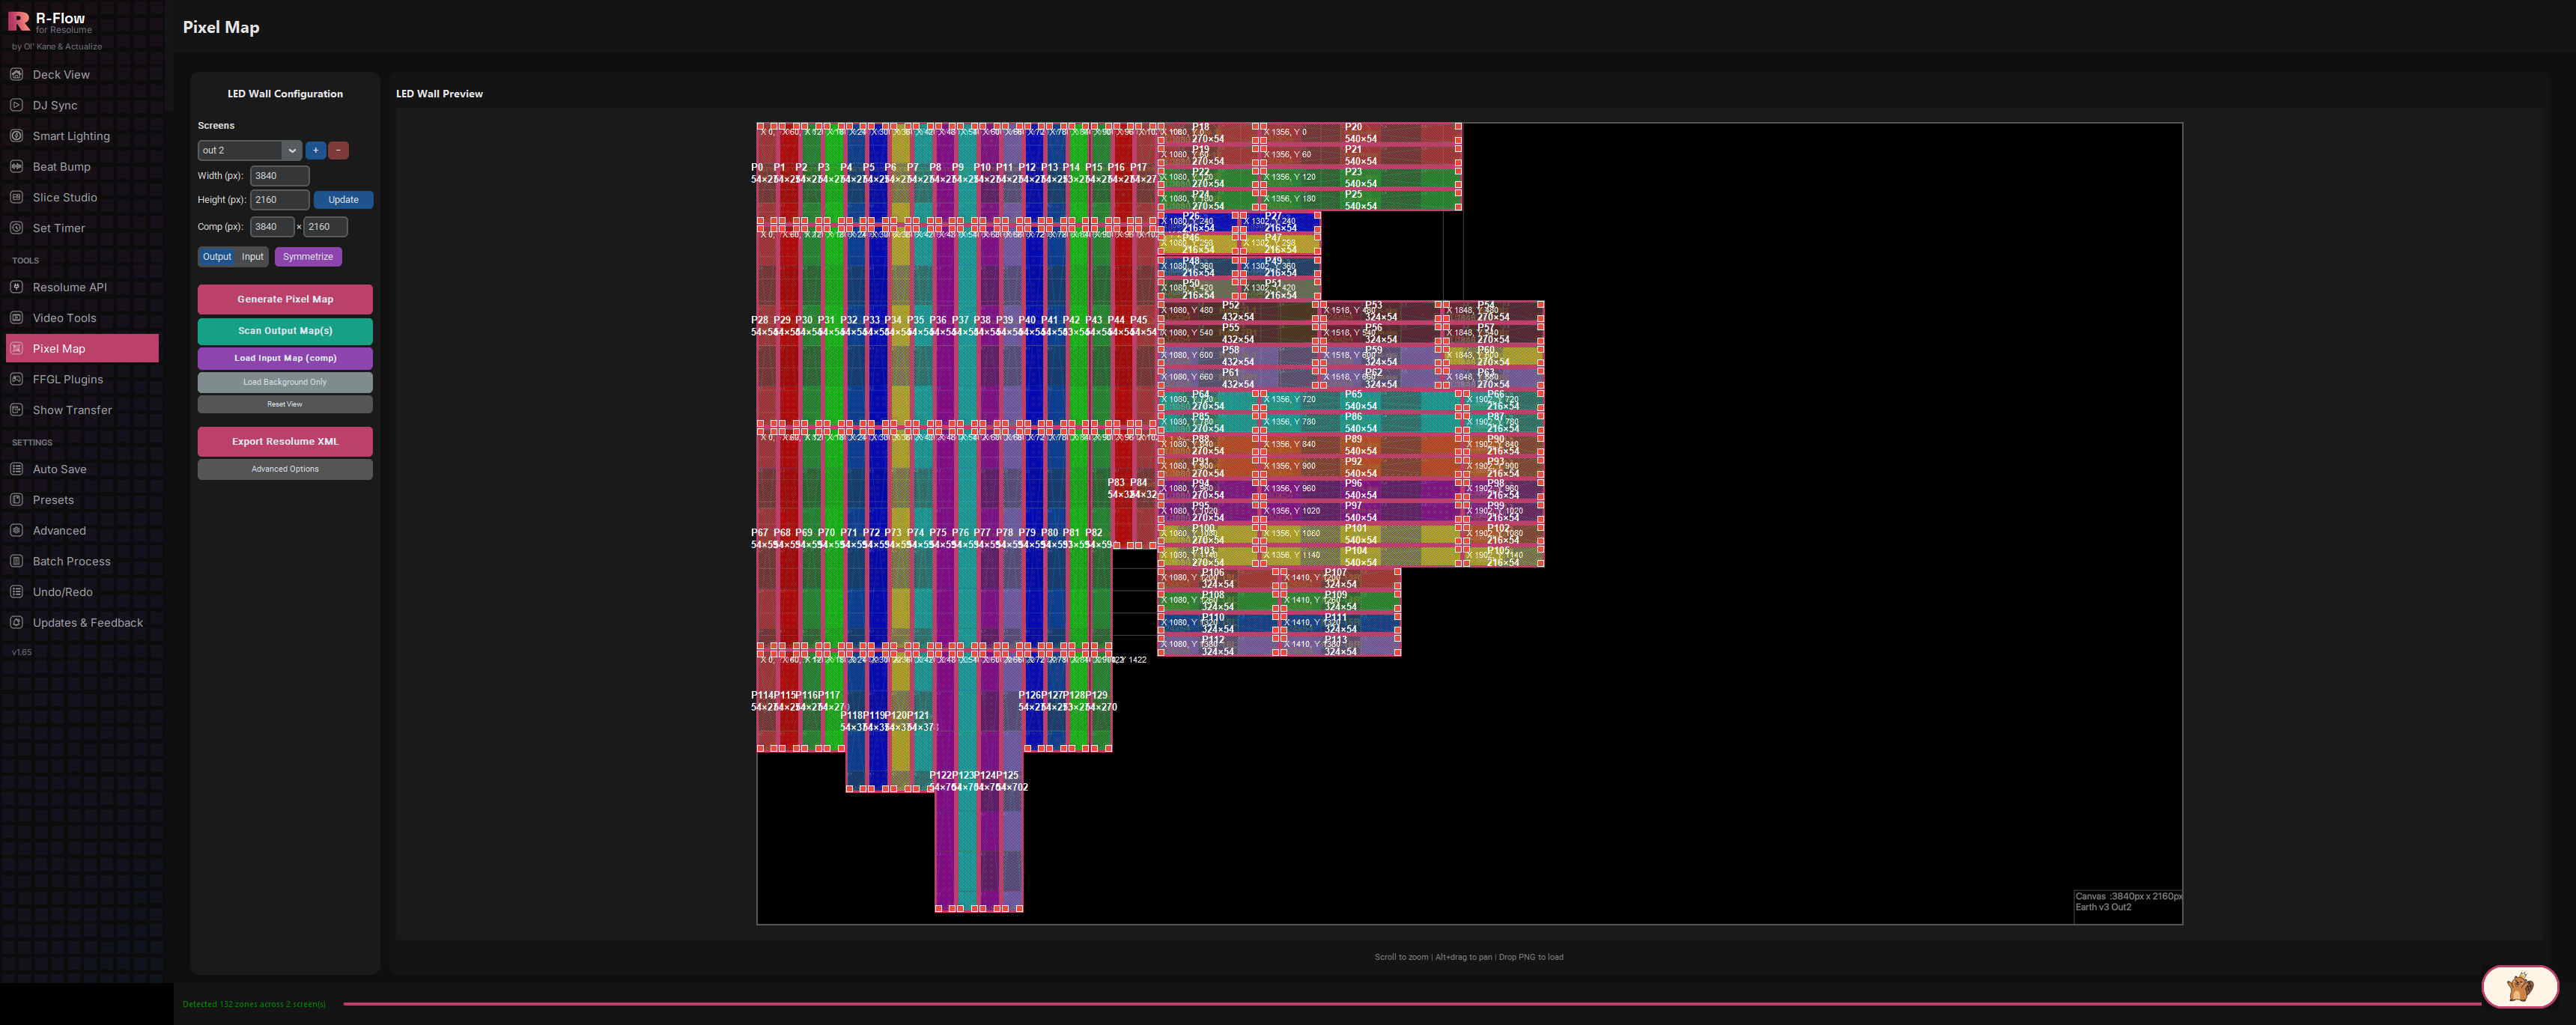
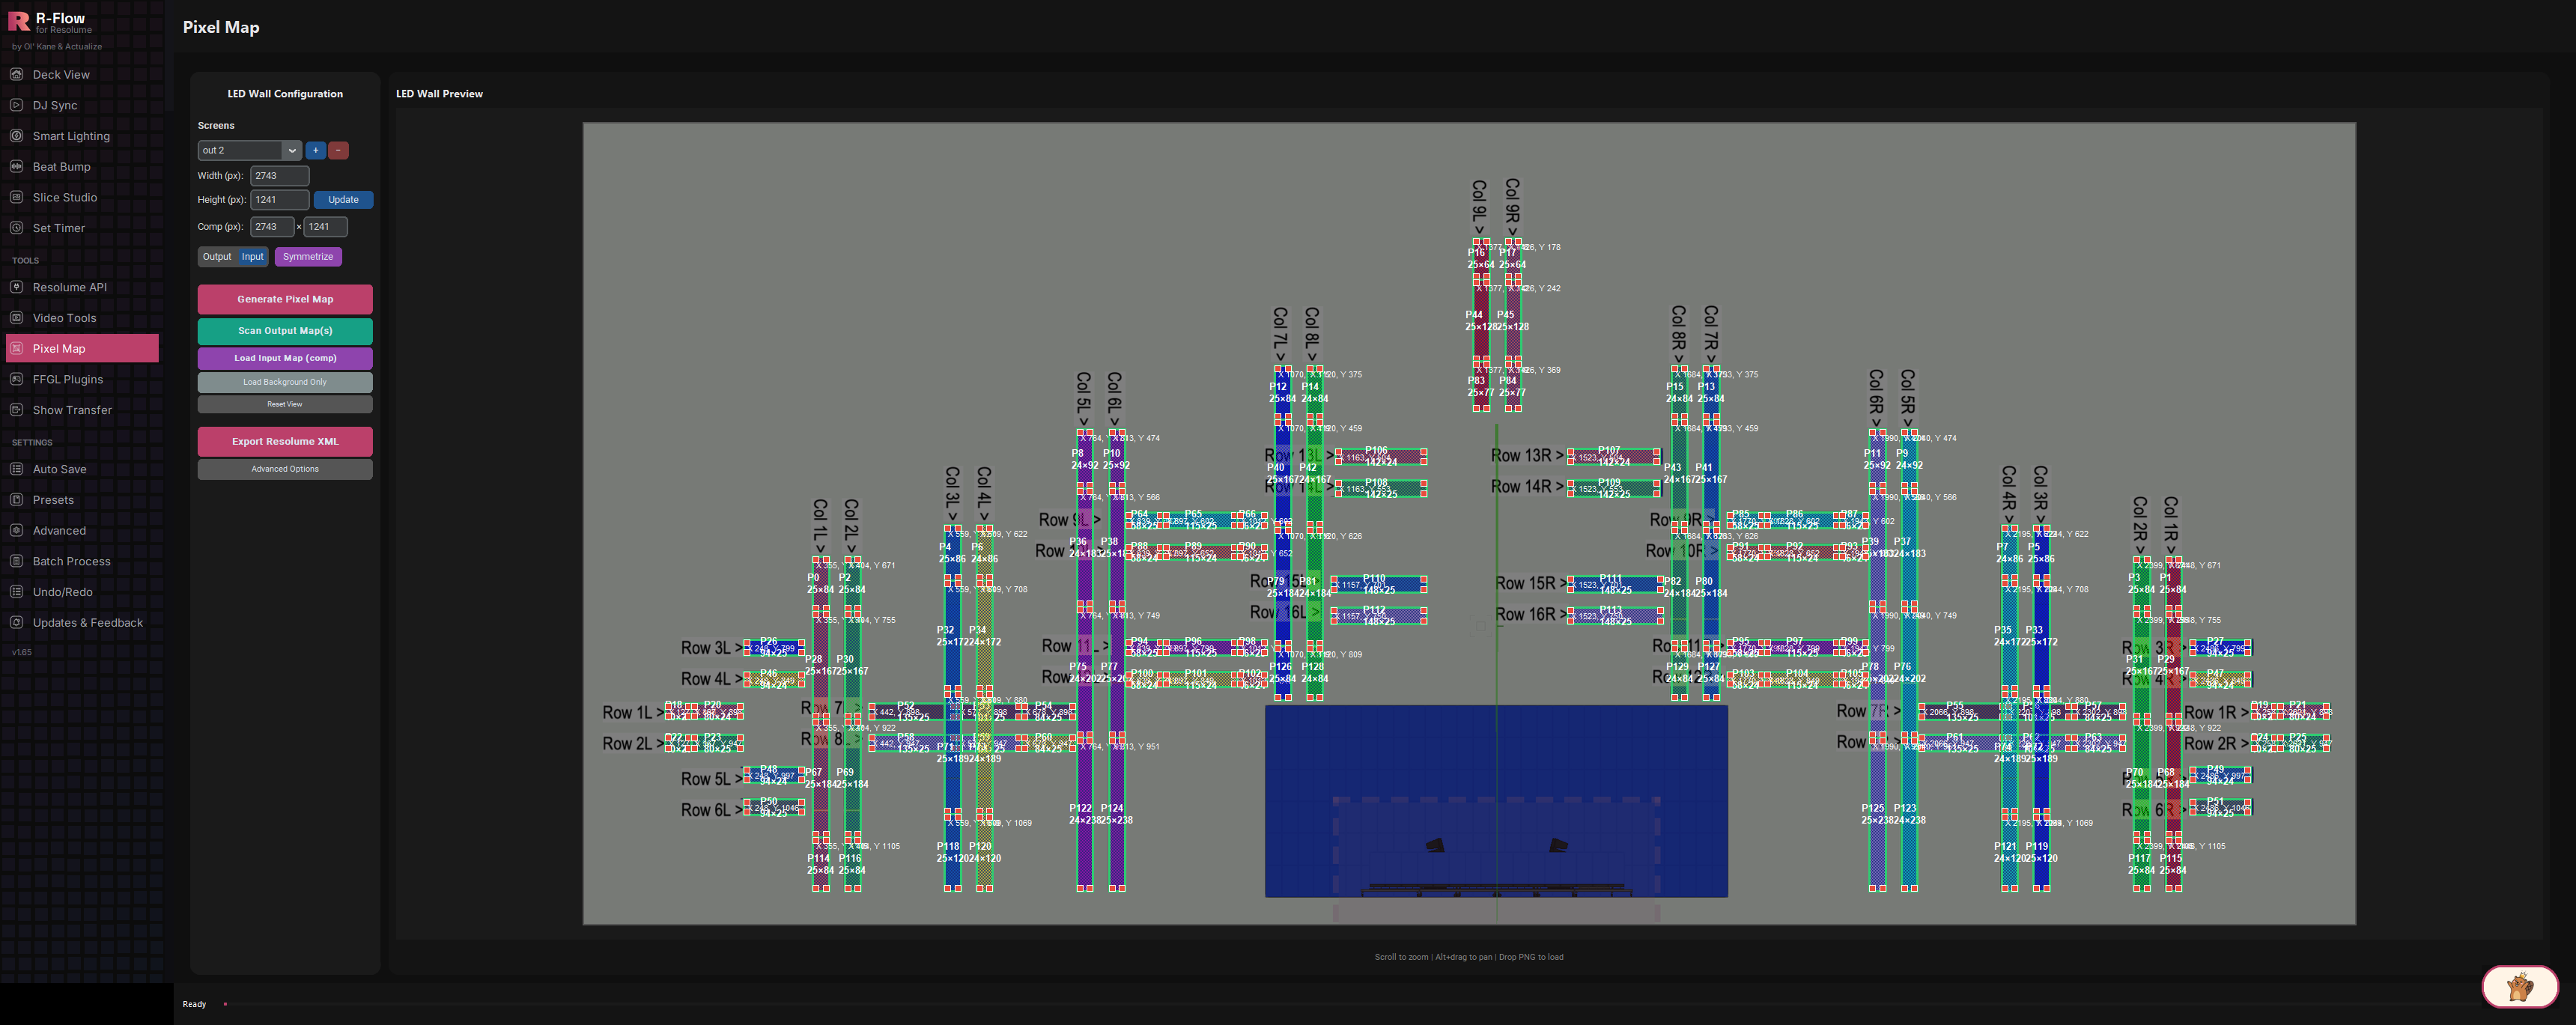
Pixel Map reads the pixel-map image a venue or LED vendor hands you (colour-coded output maps or test-card maps with X-marked fixtures) and uses computer vision to find every fixture on it. It rebuilds the whole rig as editable panels on a canvas, pairs each fixture's output position with its spot in your composition (using a colour-coded comp map or even a monochrome CAD stage plan), and exports a ready-to-import Resolume Advanced Output preset with one slice per fixture (or per rectangular panel of a shaped fixture), correct input mapping, rotation, and human-readable slice names like "Red Diamond T" or "Cyan Bar BL". What used to be an hour of manually drawing slices becomes a scan, a quick visual check, and one export.
Scan Output Map(s) detects every fixture zone in a vendor pixel map by its colour. It's built for real-world maps with checkerboard shading, label boxes, and grid lines drawn over everything. Non-rectangular fixtures (diamonds, pyramids, stairs, L-shapes) are recognised and can be split into the real rectangular panels that make them up. Test-card maps that mark fixtures with corner-to-corner X marks are detected from the X marks themselves for pixel-exact corners.
Load a second image showing where each fixture sits in your composition and the app pairs it with the scanned fixtures automatically, matching by fixture colour, printed label numbers, size, shape, and stage symmetry, in multiple passes. It even catches left/right swaps by re-reading the printed fixture numbers on mirrored pairs. Monochrome CAD stage plans get their own geometry-based matcher that even sets 90-degree rotation on fixtures drawn sideways. A status line tells you exactly how many fixtures were matched and how.
Big rigs that span two or three physical outputs are first-class: each scanned image becomes its own screen with its own resolution and panels, and the export writes one Resolume screen per output, all sharing a single composition input space.
Every detected fixture is a draggable, resizable panel over the original map image. Scroll to zoom, Alt+drag to pan, snap-to-grid placement, corner handles with Shift for aspect lock and Alt for resize-from-centre, double-click to type exact dimensions, right-click to edit or delete. An Output/Input view toggle lets you edit the screen-space and composition-space mapping separately, and 50 steps of undo/redo (Ctrl+Z / Ctrl+Y) are there when you need them.
Stage layouts are usually mirror-symmetric, but detection always lands a few pixels off. The Symmetrize button snaps mirrored fixture pairs to exact left/right symmetry and centres near-centre fixtures, so the export looks as clean as a hand-built map.
Exported slices are named the way a VJ would name them: colour plus shape plus stage position, like "Gold Bar BL" or "Blue Diamond C-3" for the parts of a shaped fixture. That way the Advanced Output editor and your layer routing stay legible.
Export Resolume XML writes a complete Advanced Output preset (screens, slices, input and output rectangles, rotation), and the save dialog opens directly in your Resolume Arena Advanced Output presets folder (when Resolume is installed), so the preset appears in Resolume's import list immediately.
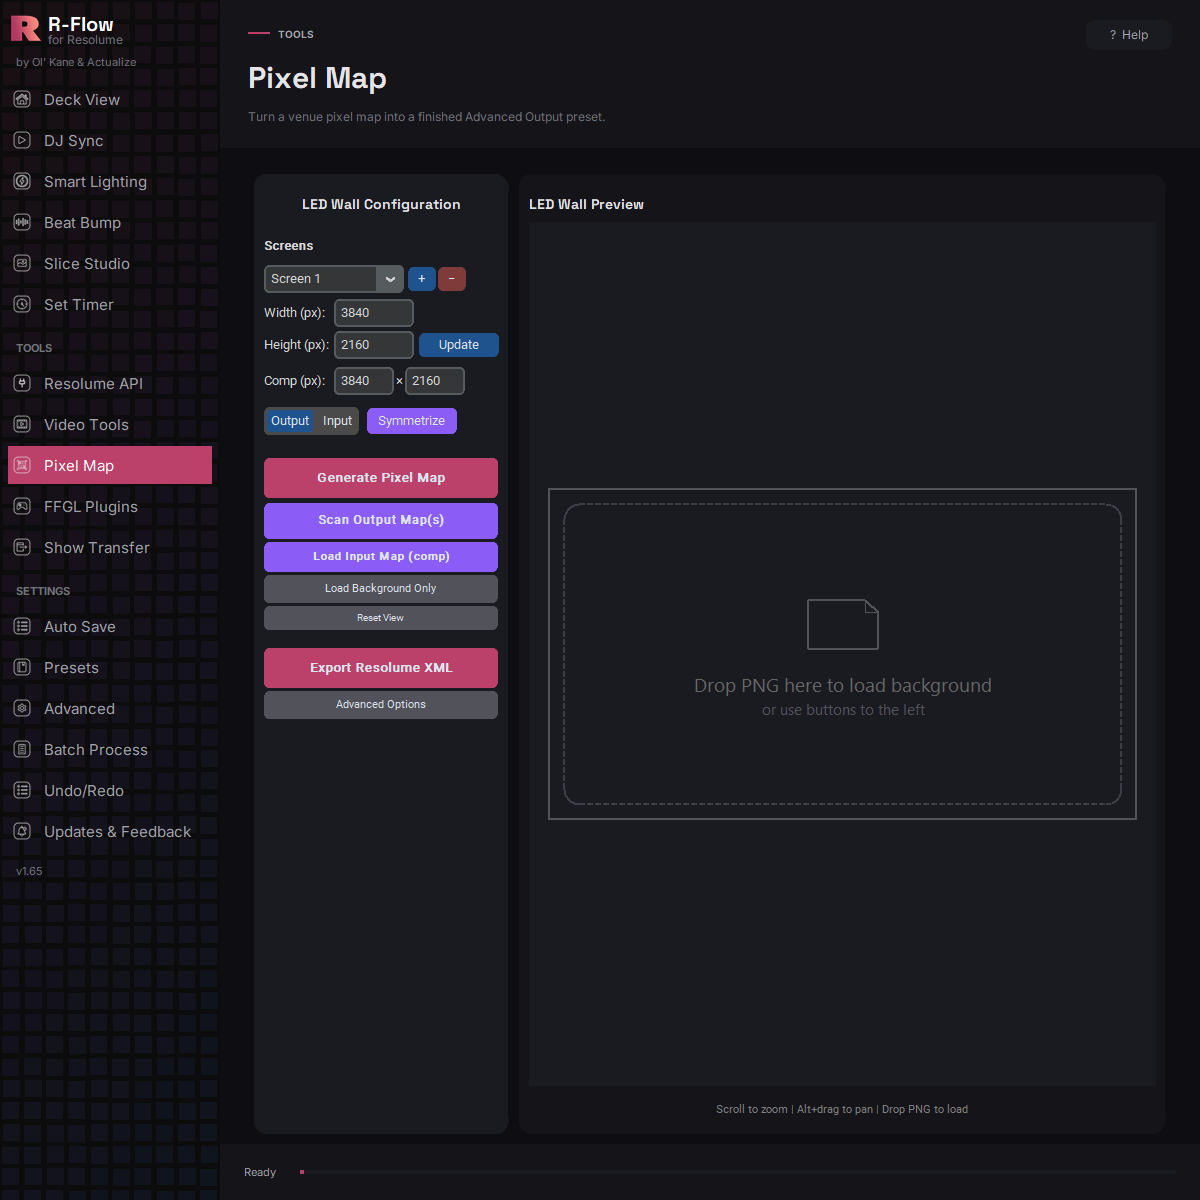
The left sidebar holds the configuration and the big buttons; the right side is the LED Wall Preview canvas. The hint at the bottom reminds you of the controls: scroll to zoom, Alt+drag to pan, drop a PNG to load it.
Click the green "Scan Output Map(s)" button and select the vendor's pixel-map image, or several at once, one per physical output. Each image becomes its own screen (a single image replaces the current screen by default; untick "Replace current screen's panels" to add it as a new screen instead).
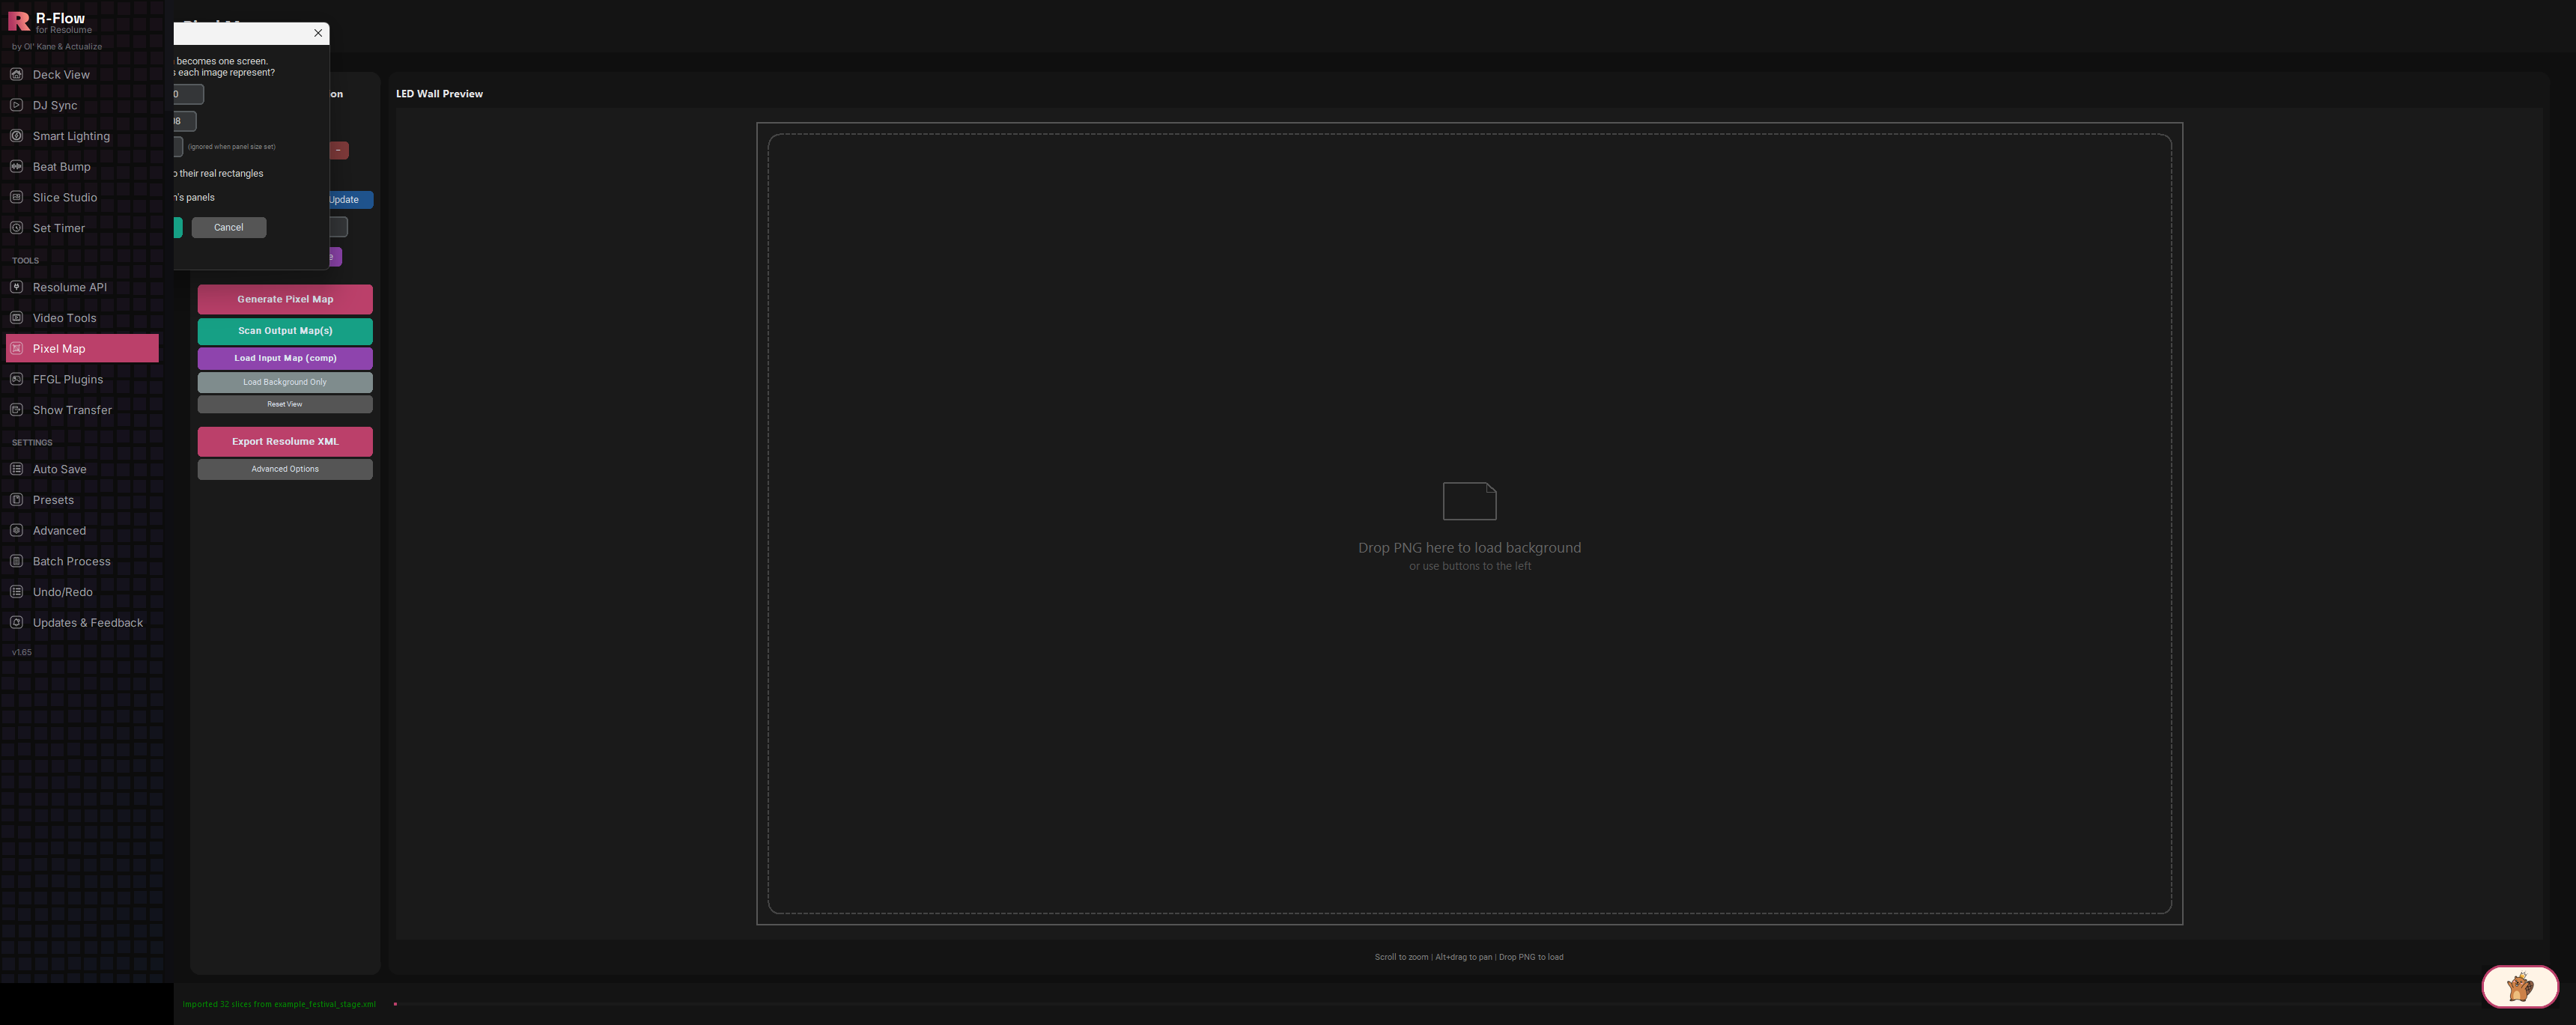
In the Scan Output Map dialog, enter the output resolution the image represents (vendor maps are often rendered smaller than the output they describe, so enter the real resolution, e.g. 3840 x 2160, not the image's pixel size). Optionally set "Panel size (px)" to your physical module size (0 = auto) so every detected rectangle locks to the panel grid, and leave "Split shaped zones into their real rectangles" ticked so diamonds and pyramids become their actual panel strips. Click "Scan".
The status bar reports how many zones were found, and each fixture appears as a coloured panel over the dimmed map image. Zoom with the scroll wheel, pan with Alt+drag (or middle mouse), drag panels to reposition, pull the red corner handles to resize (Shift = keep aspect ratio, Alt = resize from centre), double-click a panel to type exact dimensions, or right-click to edit or delete it. "Reset View" brings the zoom back to normal. If you run multiple screens, switch between them with the Screens dropdown.
If you have an image showing where each fixture sits in the composition, whether a colour-coded comp map or a CAD stage plan, click the purple "Load Input Map (comp)" button. The composition size becomes the image's native size, and every fixture's input rectangle is matched automatically. The status line summarises the result, e.g. "32 fixtures — 24 by colour, 4 by label, 2 by shape+symmetry, 2 mirrored". Anything reported as "guessed (check!)" deserves a manual look.
The app jumps to the Input view automatically, showing every input rectangle drawn over your input image. Matched panels get a green outline. Dragging and resizing here edits the input mapping directly. Click "Symmetrize" to snap mirrored pairs to perfect left/right symmetry. Toggle back to "Output" when done.
Click "Export Resolume XML". The save dialog opens in your Resolume Advanced Output presets folder. Keep it there and the preset shows up in Resolume automatically. A summary confirms screens, slices, composition size, and how many slices carry matched input rectangles.
In Resolume, go to Output > Advanced > Import..., pick the exported file, and your entire venue mapping (slices, input routing, rotation, names) is live.
Open "Advanced Options" for manual tools: set a panel size and click "Add Panel", or use "Bulk Add" to enter coordinates for many panels at once (with grid and same-size quick-fill helpers). Everything exports the same way.
| Screens | Dropdown plus + / − buttons to manage one screen per physical output; each screen keeps its own resolution, background image, and panels. |
|---|---|
| Width / Height (px) | The active screen's declared output resolution. Hit "Update" after changing it. |
| Comp (px) | The composition size used for input mapping and export; set automatically to the input image's native size when you load an input map. |
| Output / Input view | Toggle between editing panels at their physical output positions and editing their composition-space input rectangles. |
| Symmetrize | Snaps matched input rectangles to exact left/right stage symmetry and centres near-centre fixtures. |
| Load Background Only | Loads an image behind the canvas as a visual reference without running detection or changing the declared resolution. |
| Panel size (scan dialog) | Physical module size in pixels (e.g. 108); locks detected panel sizes to the module grid so detection jitter can never produce an off-size panel. 0 = automatic. |
| Snap coords to (scan dialog) | Rounds detected coordinates to the nearest multiple; ignored when a panel size is set. |
| Split shaped zones into their real rectangles | Turns diamonds, pyramids, stairs, and L-shapes into one panel per real rectangular strip instead of one oversized bounding box. |
| Replace current screen's panels | When scanning a single image, overwrite the active screen instead of adding a new one. |
| Advanced Options: Panel Management | Manual panel size, "Add Panel", "Bulk Add" (coordinates for many panels, with Grid Layout and Same Size quick-fills), and "Clear All". |
| Advanced Options: Snapping | Enable/disable snap and set the grid size used when dragging and resizing panels. |
| Advanced Options: Pixel Pitch & Mapping | Optional pixel pitch (mm), start corner, and wiring direction (horizontal, vertical, snake-h, snake-v). These feed the per-LED-pixel "Generate Pixel Map" workflow for LED panel data and aren't needed for the scan-and-export workflow. |